The Grinder NOV, 4, 2010
a JavaTM load testing framework which i find really helpful in stress testing web applications
In order to deploy Grinder you need two things
1- Download Grinder which is currently version 3.4
2- Make sure that you have Java JDK 1.5 or higher
Once you download Grinder, just unzip it to a directory and you are ready to go, in my case, I unzipped it to directory D:\Grinder-3.4
To make sure that I meet the JDK requirement , I run the following
c>Java -version
java version
"1.6.0_21"
Java(TM) SE Runtime Environment (build 1.6.0_21-b07)
Java HotSpot(TM) Client VM (build 17.0-b17, mixed mode, sharing)
What is required to successfully run a Grinder session
a) A configuration file (by default the file is called grinder.properties and is located at D:\grinder-3.4\examples directory)
b) A script file that contains the URL that will be used in the stress test)
c) Run the Console Component of Grinder
d) Run the Agent Component of Grinder (which actually invokes the URL requests)
Step By Step Approach
a) Edit the configuration file and verify the following parameters
# Specifies the Scrip file that contains the profile of the URL request you will be testinggrinder.script = ammar.py
# The number of worker processes each agent should start. The default
# is 1.
grinder.processes = 1
# The number of worker threads each worker process should start. The
# default is 1.
grinder.threads = 1
# The number of runs each worker process will perform. When using the
# console this is usually set to 0, meaning "run until the console
# sneds a stop or reset signal". The default is 1.
grinder.runs = 0
b) make sure that you have the file ammar.py. You need to learn the scripting language to use in order to create the .py file. However, later on in this document we will show how to automatically create a sample file by sniffing an actual Browsing session
c) Run the Console
Set the Java Classpath
C>Set CLASSPATH=set CLASSPATH=d:\grinder-3.4\lib\grinder.jar
Run the Console
c>java net.grinder.Console
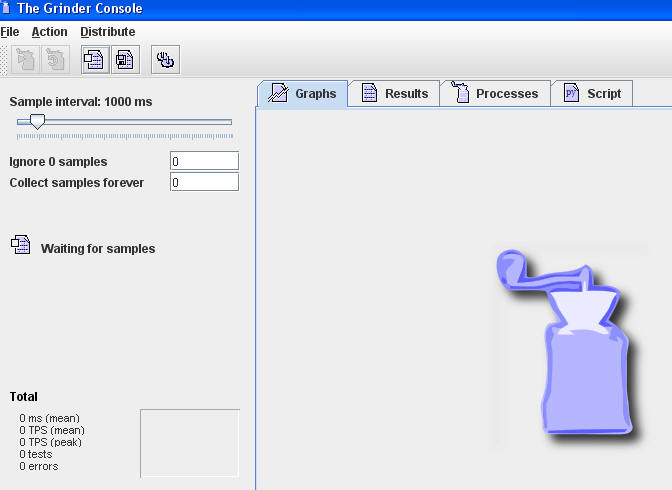
The console interface should appear
d) Run the Agents
From another DOS session you run the agents
First go to the directory where the properties file is located
C> CD d: D:\grinder-3.4\examples
set the JAVA CLASSPATH
D:> SET CLASSPATH=d:\grinder-3.4\lib\grinder.jar
run the agents
D:>java net.grinder.Grinder grinder.properties
11/4/10 8:02:46 PM (agent): The Grinder 3.4
11/4/10 8:02:46 PM (agent): connected to console at localhost/127.0.0.1:6372
11/4/10 8:02:46 PM (agent): waiting for console signal
Now everything is ready and as the message above shows, the agent is waiting for a signal from the console so that it can start working
Go back to the console GUI and start the processes
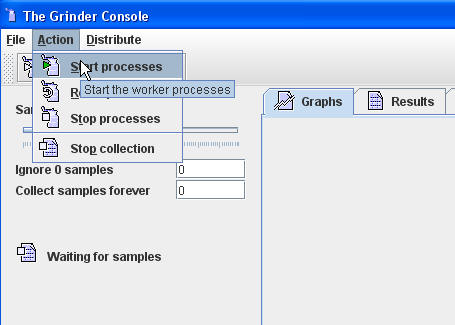
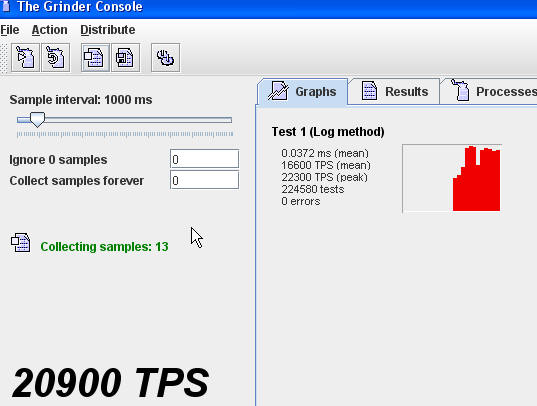
Press OK for the Alert window and the agents will start sending requests and the console will indicates the activities
Creating a Script File
Grinder provides a module called TCPProxy that can sniff the TCP stream and filter out the HTTP requests and HTTP responses. It can be used as HTTP sniffer, but in our case , we will use it to generate a Script file to be used by agents to reply the test scenario
To run, and as before first set the CLASSPATH
C> CD d: D:\grinder-3.4\examples
D> SET CLASSPATH=d:\grinder-3.4\lib\grinder.jar
java net.grinder.TCPProxy -console -http > ammar.py
11/4/10 8:10:46 PM (tcpproxy):
Initialising as an HTTP/HTTPS proxy with the
parameters:
Request filters:
HTTPRequestFilter
Response filters:
HTTPResponseFilter
Local address:
localhost:8001
11/4/10 8:10:48 PM (tcpproxy): Engine initialised, listening on port 8001
You will aslo observe that a small GUI screen appears

This TCPproxy console has two functions, while you are executing your scenario on the broswer, you can insert comments and these comments will appear in the Script file. The second function is to stop the recording session and generate the script file
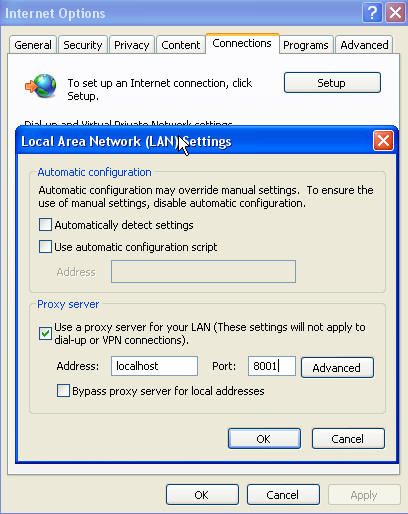
NOTE: As is the case with any other proxy, you need to configure your browser to use the Proxy on the using the Local address shown above (localhost:8001).
For Microsoft ie, you can configure the proxy setting in the Internet Options screen, connection tab
Enjoy
Ammar